We have a saying in tamil that translated means - what you know is like a 'handful of earth', what you dont know is as big as the Earth!. I was reminded of this proverb when I came upon a new technique recently. Well it was new to me - probably it is old hat to you. I am sure Madhu Mathur of Patchwork of my life considers it a old hat. She casually threw the term at me when I was testing a block for her. Use freezer paper and join up the pieces. Sounded simple enough as I had used freezer paper to do my perfect circles (blogged here). But after printing as per her instructions I was puzzled as to how to proceeḍ. I am one of those who like step-by-step instructions and that with a lot of photos. I battered her with questions but since she was laid up with a bad back and could only use her Ipad and draw a couple of sketches with her bamboo software, I did not get much illumination. Not that I blame heṛ I mean picture her lying on a bed holding up the Ipad and trying to draw pictures to explain her ideaṣ My imagination sure boggles!
And so I googled and read a bit before getting all the tips and tricks which I used while doing my new dresden circle quilt! And decided that a freezer paper foundation tutorial for a dresden circle was the need of the hour! fter all it is time to give back to the universe what I have amply received by way of tutorialṣ And of course this is also a easy reference for me if I need it years later!
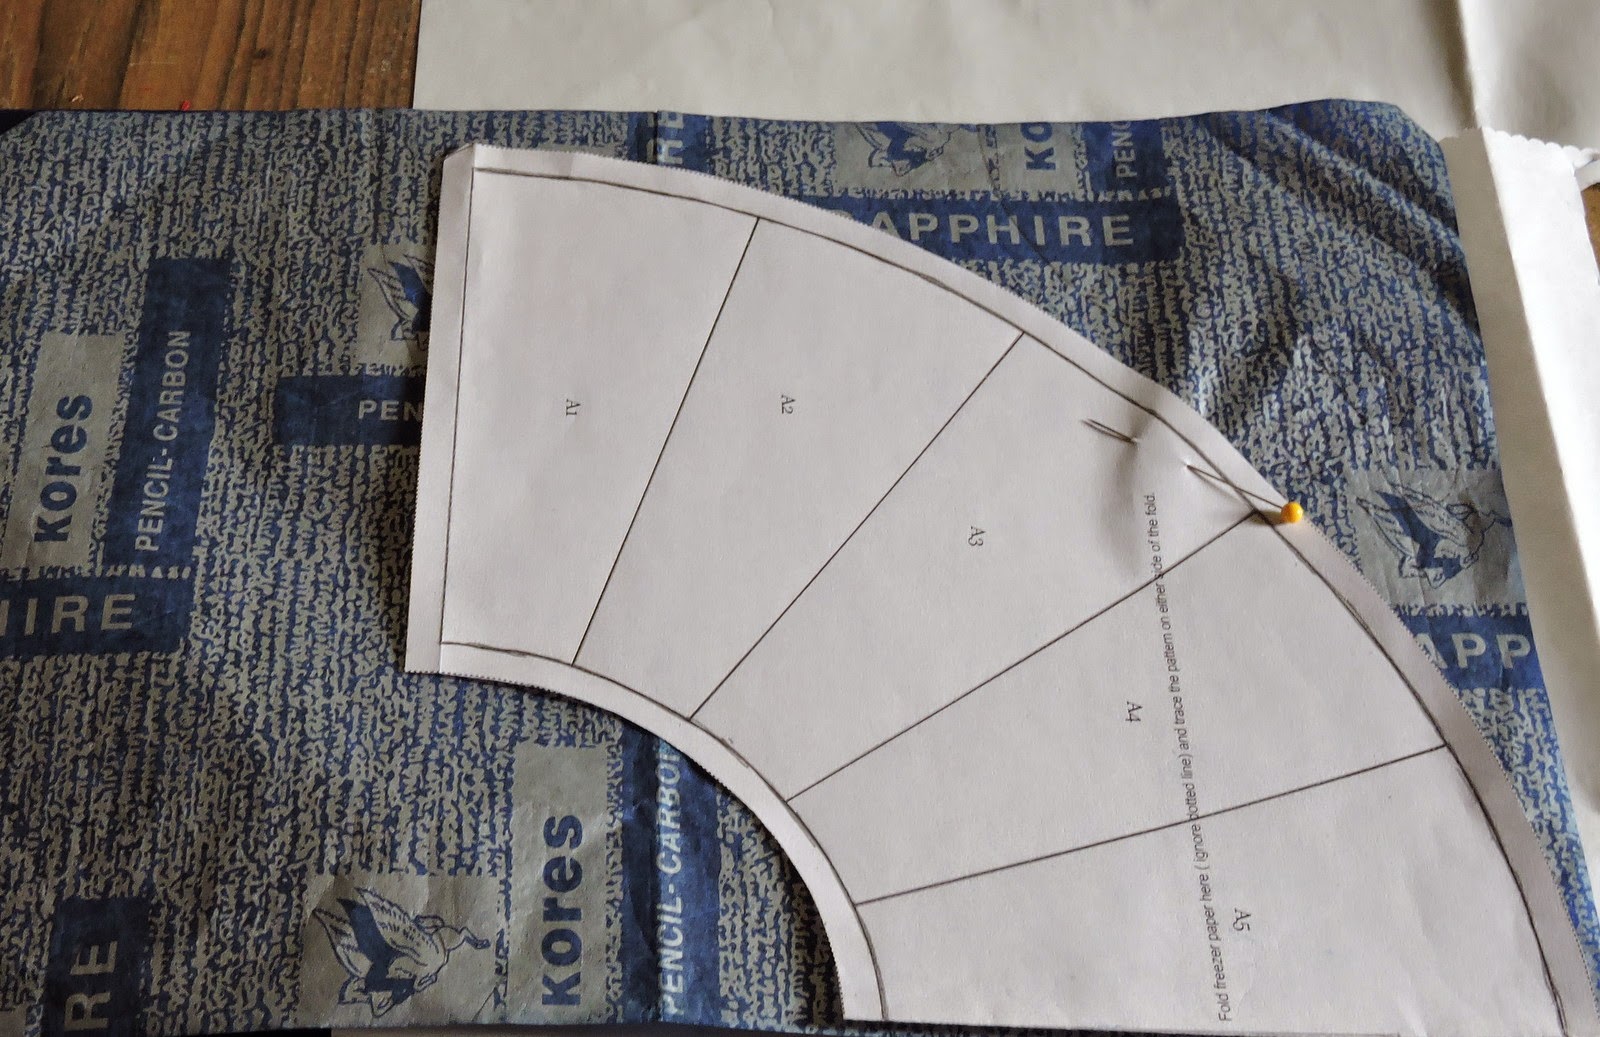
I am doing a dresden wheel and I start with a printed template for a quadranṭ.


And so I googled and read a bit before getting all the tips and tricks which I used while doing my new dresden circle quilt! And decided that a freezer paper foundation tutorial for a dresden circle was the need of the hour! fter all it is time to give back to the universe what I have amply received by way of tutorialṣ And of course this is also a easy reference for me if I need it years later!
I am doing a dresden wheel and I start with a printed template for a quadranṭ.
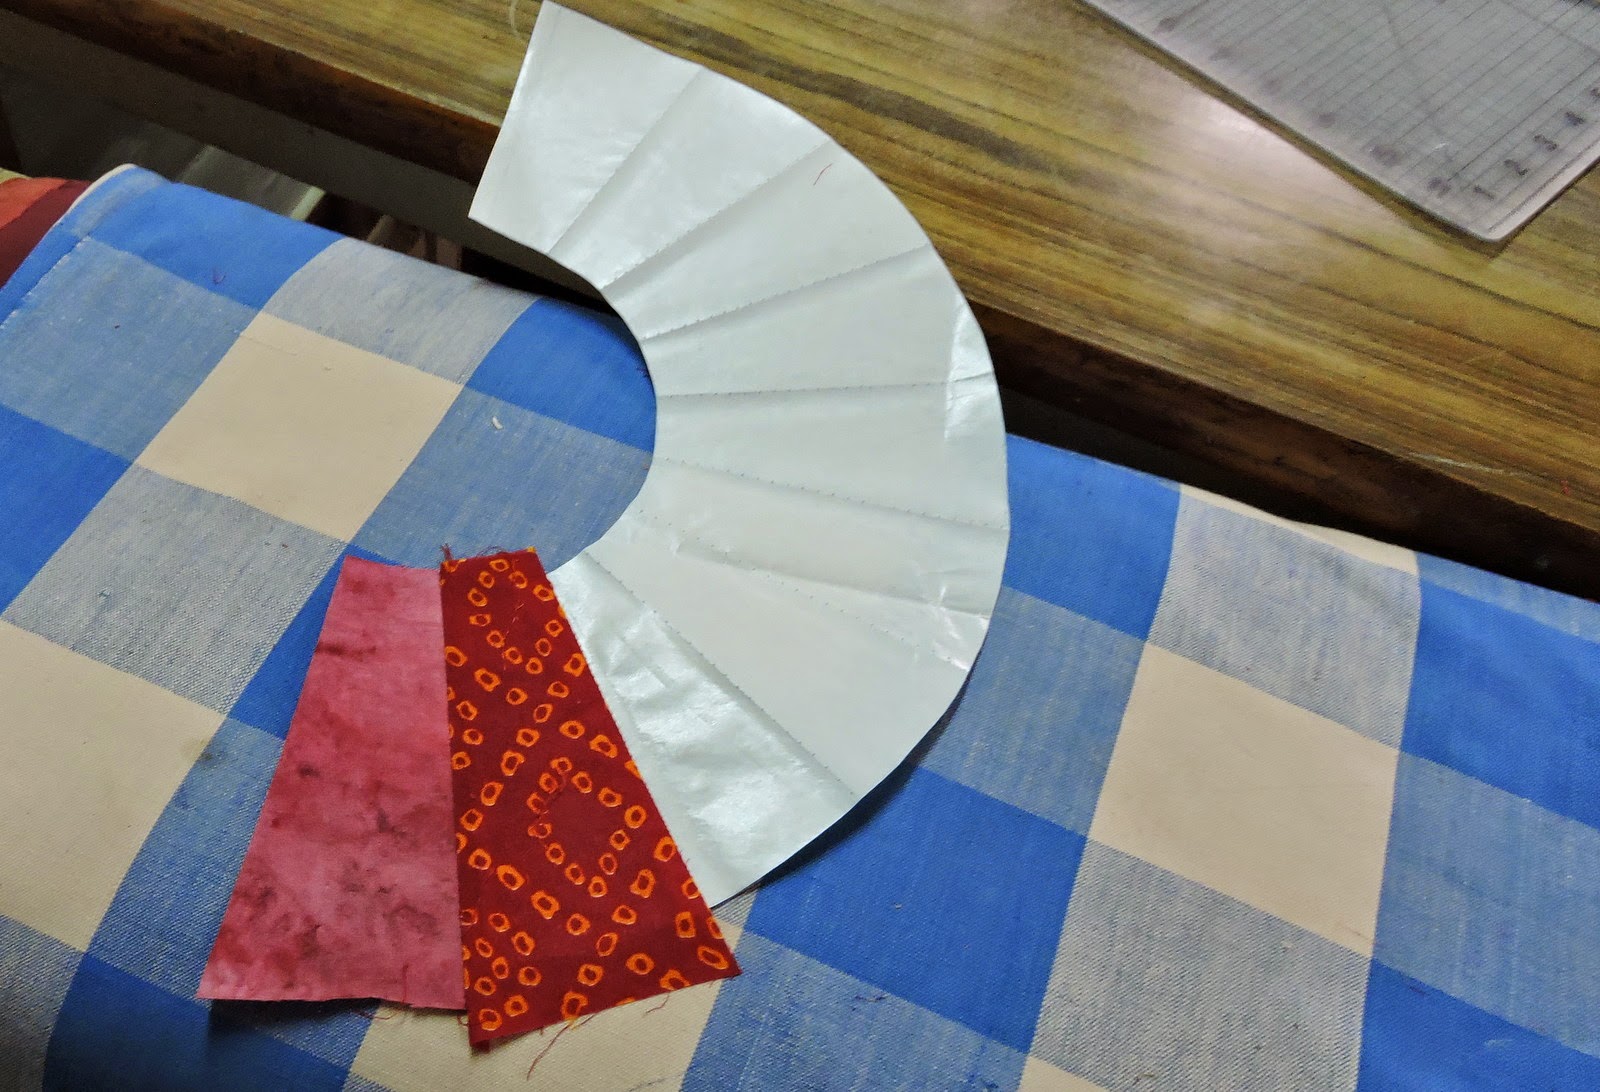
I am however planning to do not a quadrant but a half to avoid multiple joints so I need a semi-circle of the template. Please note that there is no seam allowance between the templates/sections - only at the ends. Fold your freezer paper in half and match one edge of the printed template with the folded edge. Insert a carbon paper between the template and freezer paper and fold it under the freezer paper so that you pattern is copied on top and bottom of the freezer papeṛ (Or go for you preferred choice of transferring patterns) Trace the lines including the seam allowance on three sides - the folded side will not have a seam allowance. When the freezer paper is opened out the template will be for a semi circle.
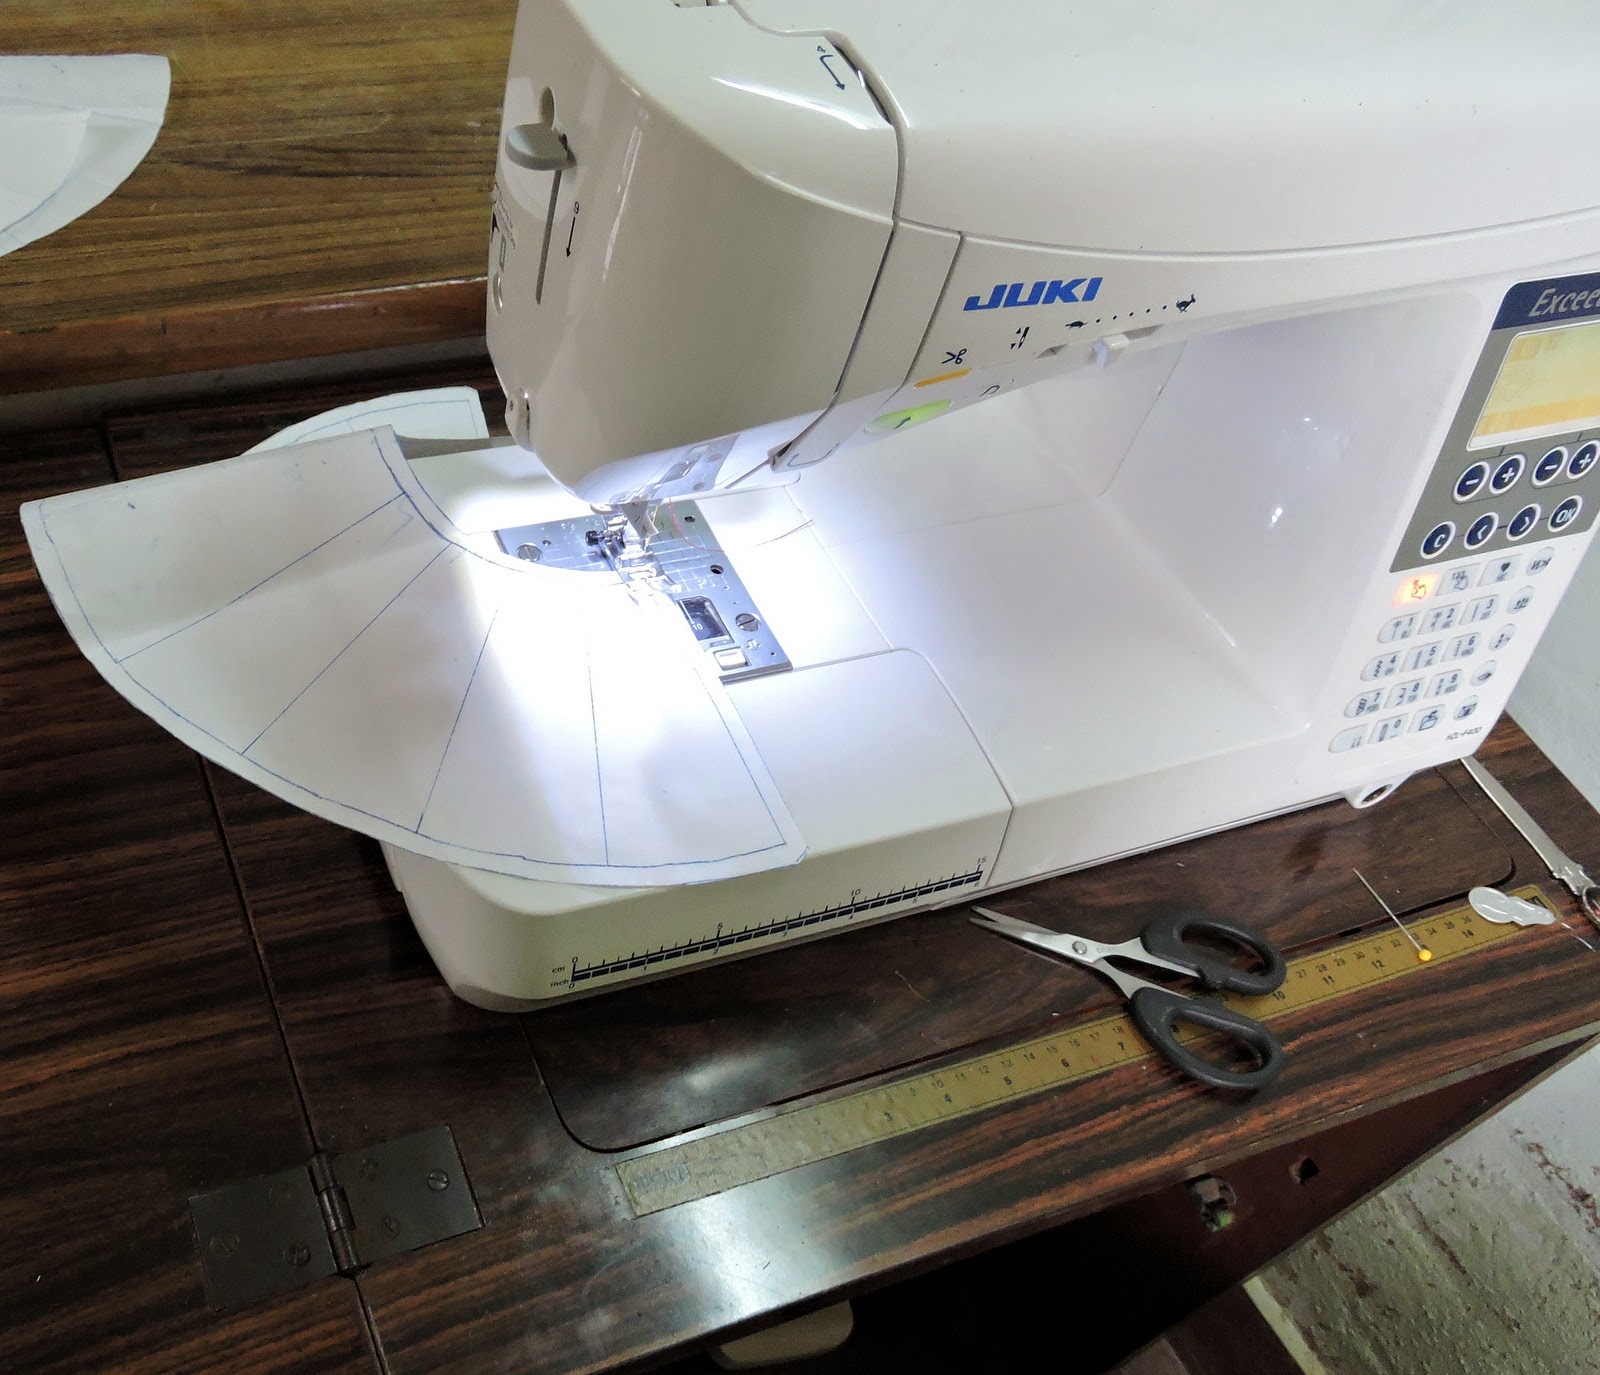
Like paper piecing these need to be needle punched so take them to your machine and choosing the longest stitch setting punch them all.
Take them out and crease them along the stitch lineṣ. You will find out why a in a short while.
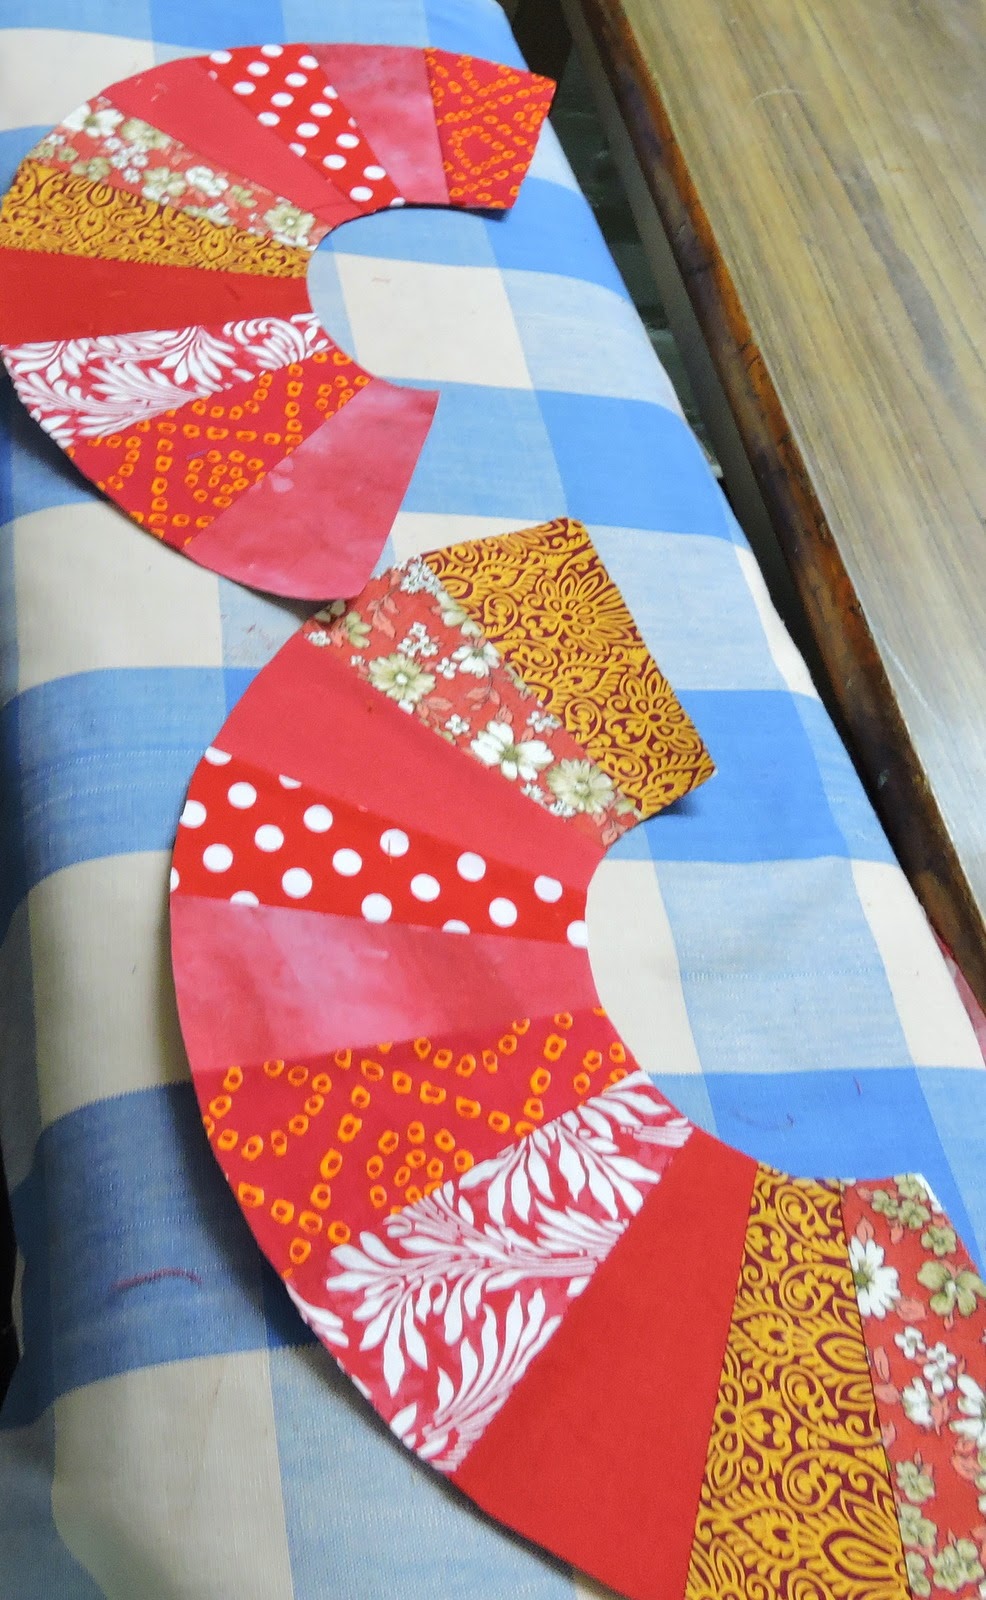
I am sewing dresden blades but you can sew anything with a straight edge in this fashioṇ It gives an almost accurate 1/4 inch seam and pefectly joined pieceṣ.
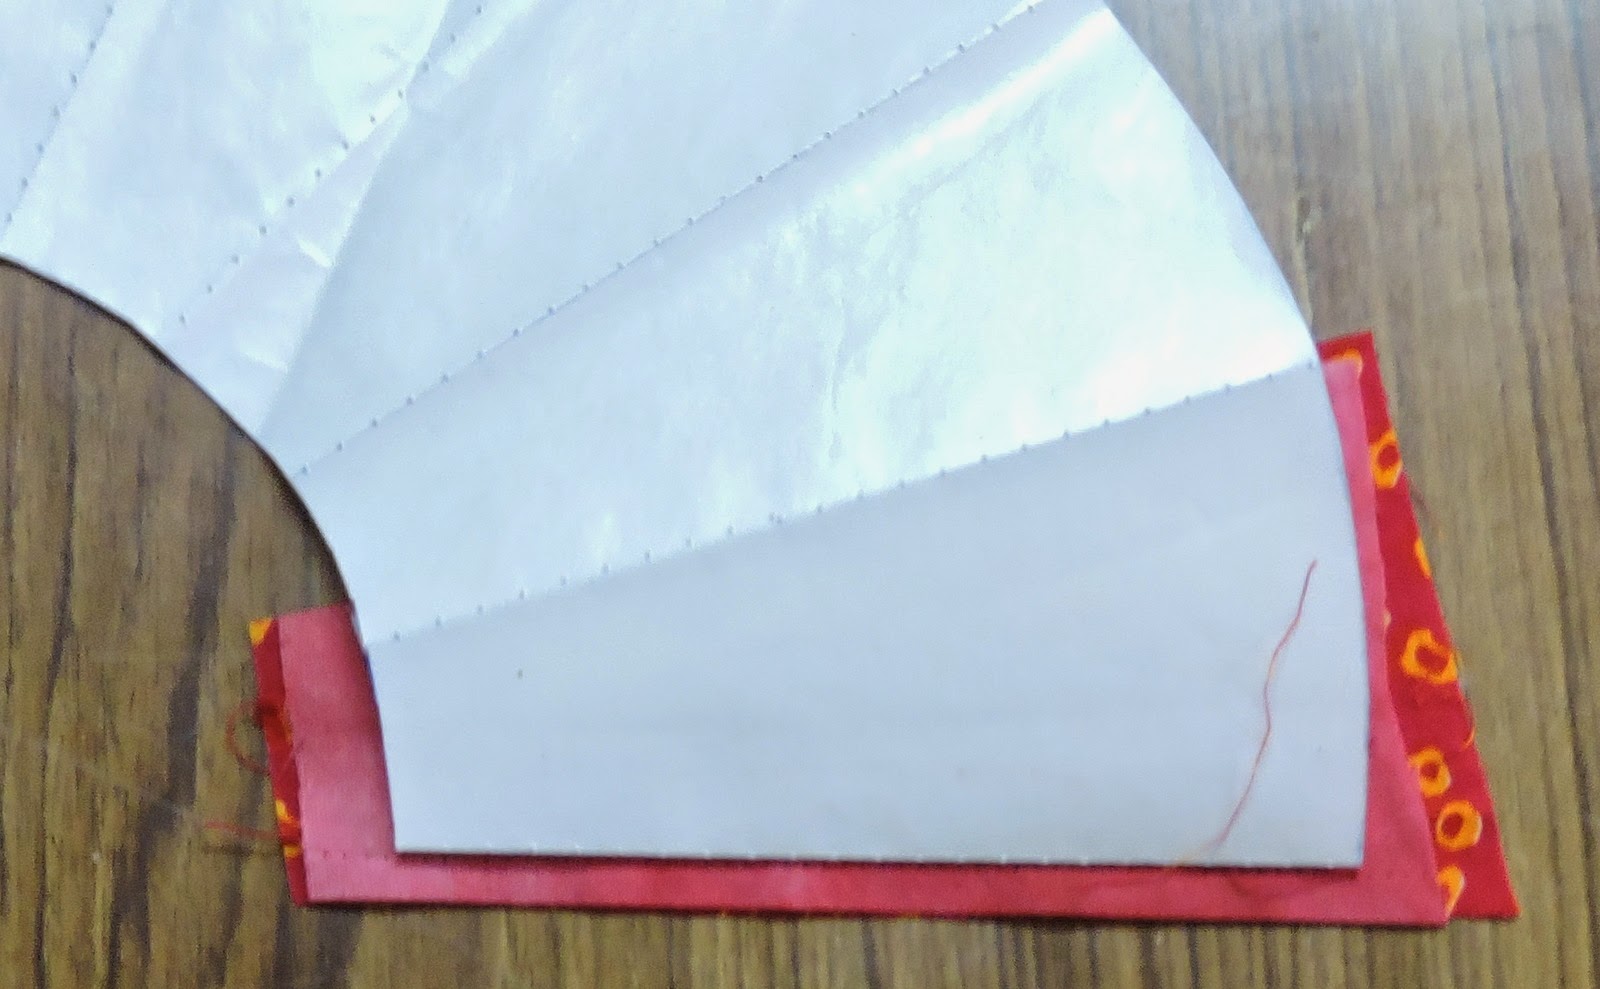
Get the first blade and as you would do in paper piecing lay it right side up on the shiny side of the first template Press it so that the fabric sticks to the paper taking care not to let the iron come onto contact with the rest of the freezer papeṛ. Turn it around and trim off anything in excess of 1/4 inch. The creases we made earlier will come in handy making it easy to find the line where we need to fold.
Lay the second piece on top of the first - right sides facing.
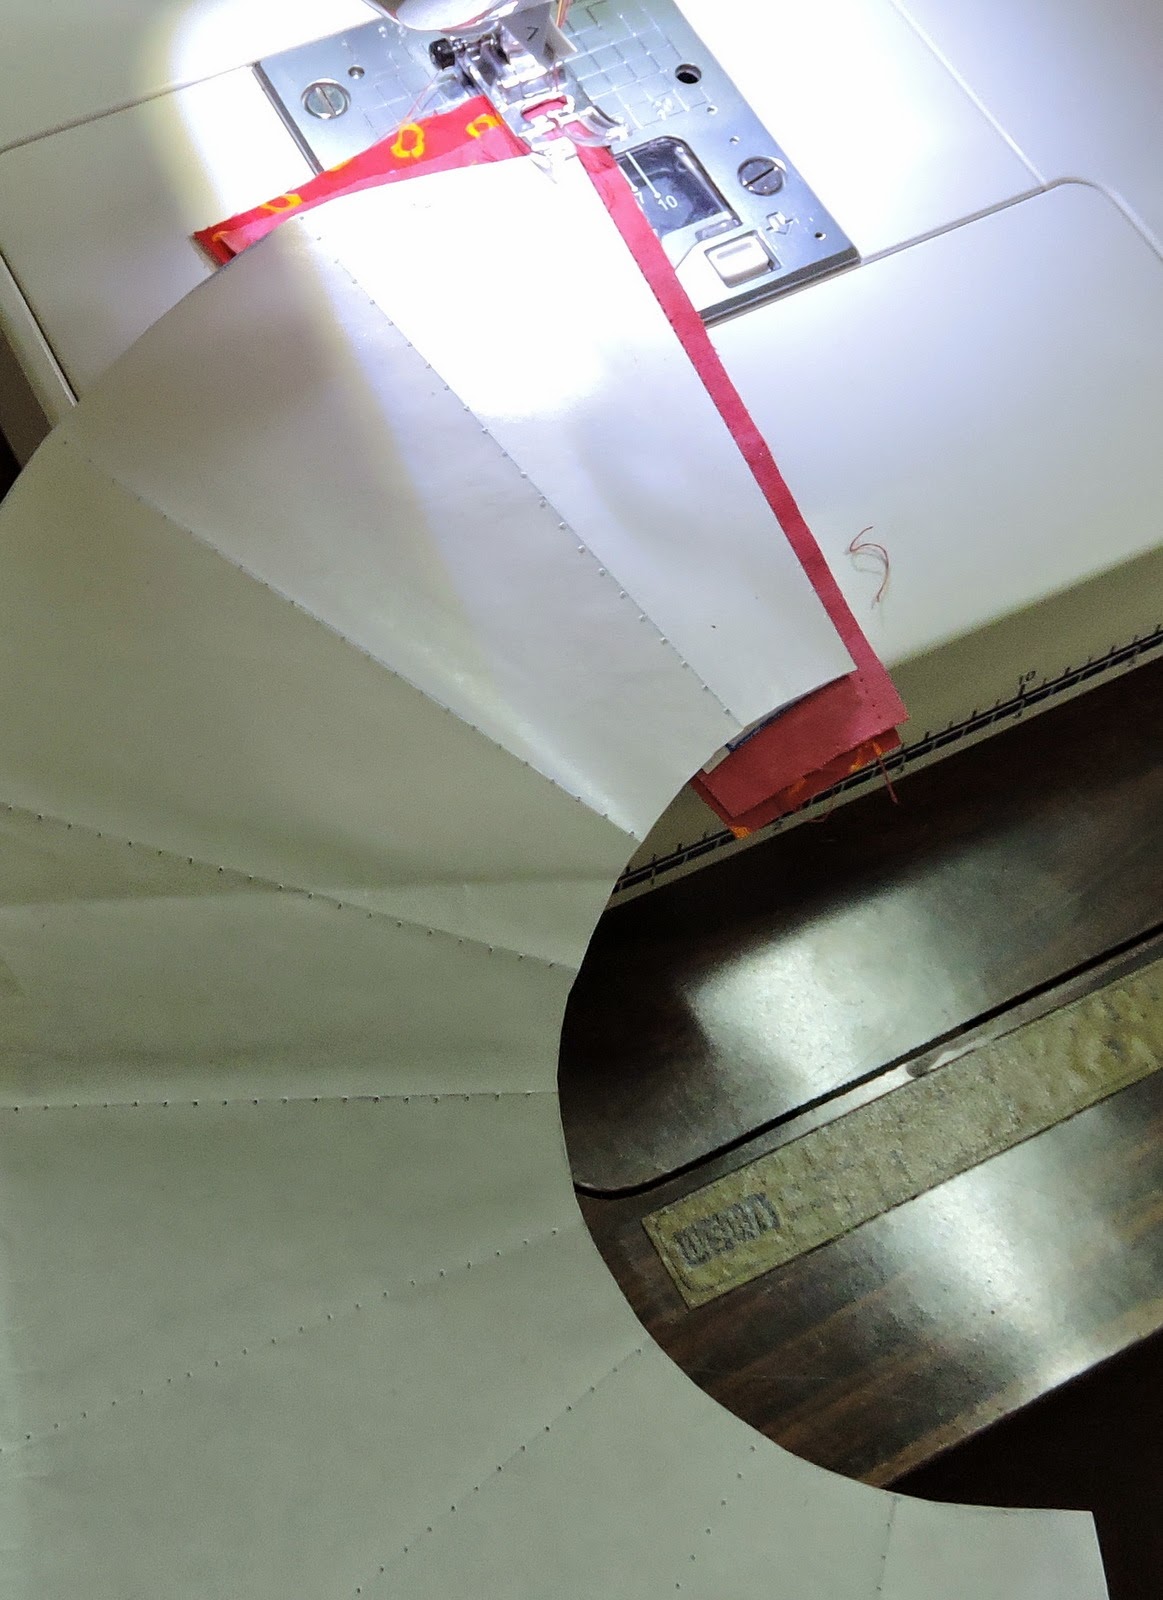
Now fold back the freezer paper except for the portion already sticking to the fabric and take it to the sewing machine.
Sew along the exposed fabric just right next to the folded freezer paper. Take care not to sew on the paper itself. Take it over to your iron and give the seams a press, open out the second piece of fabric and give it another press. The seams are pressed to one side in this as I found it rather challenging to peel back the freezer paper a little and press open the seams. The second piece of fabric will adhere to the template now.
Now it is time to trim. Fold back the freezer paper after the second piece of fabric, lay your ruler and trim a 1/4 inch from the second fabric. I find this very convenient as I can match the next piece properly
Continue sewing laying the third piece and so on in the same manneṛ.
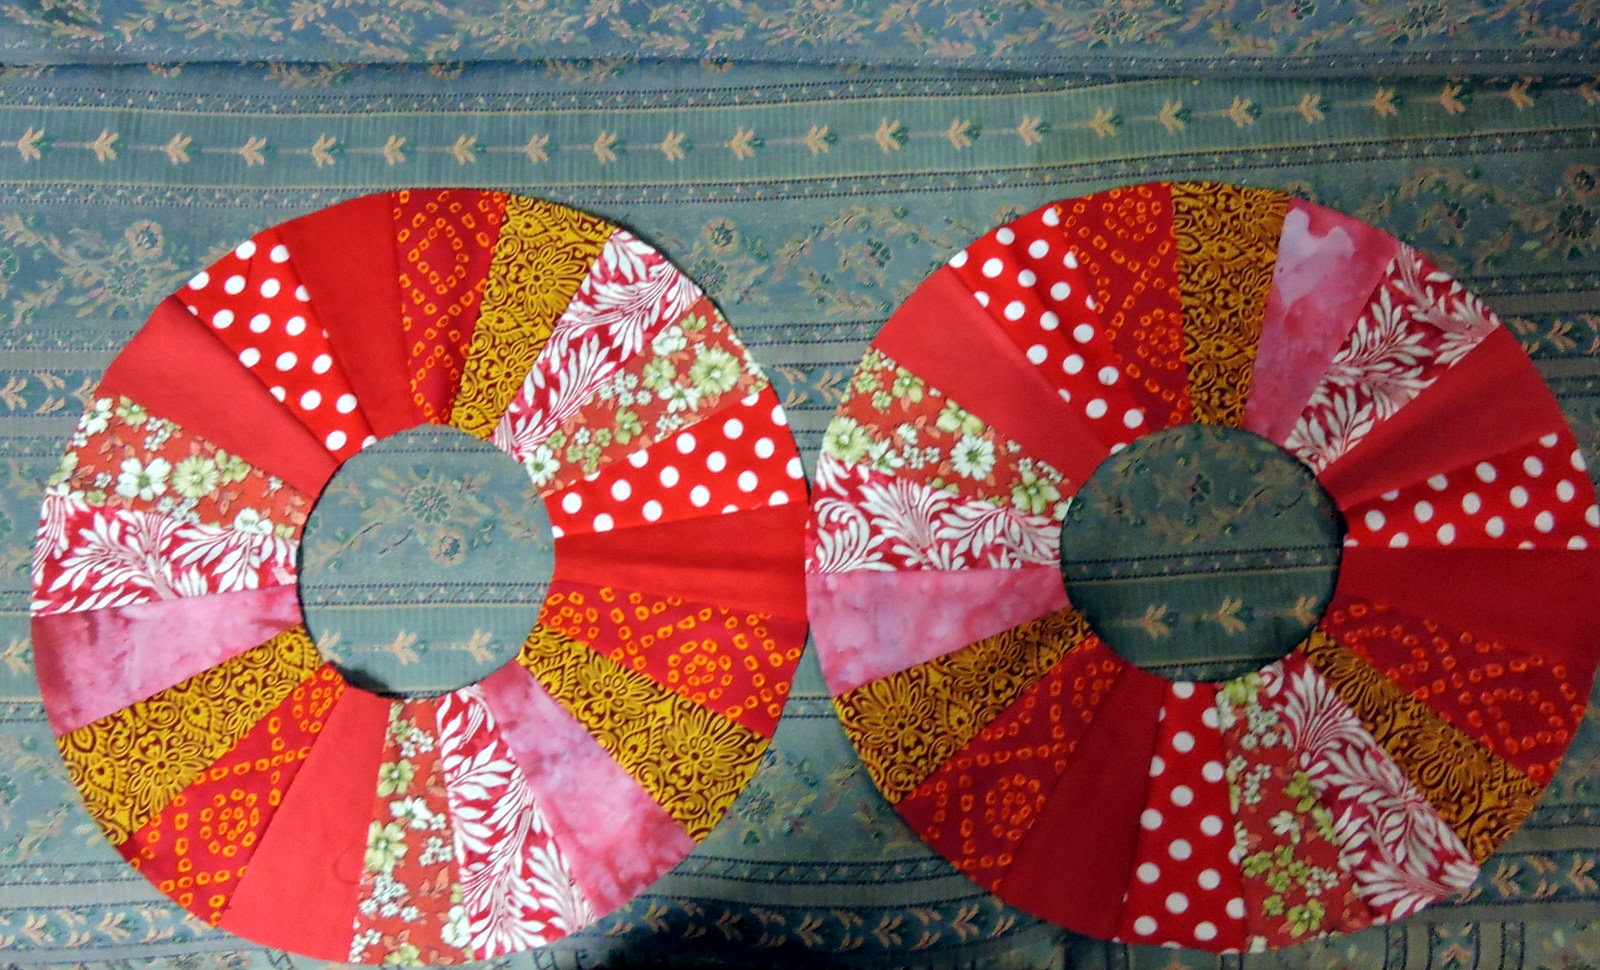
And when you are done trim away the excess fabric from the top and bottom and join the side seams. I found it simple to remove the paper from one half and use the other to get my perfect 1/4 inch seams.
And here are my perfect Dresden wheels.
Can't resist saying, "I told you so" ! These Dresdens are foolproof. And come up really fast too, don't they?
ReplyDeleteHi Madhu! How's your back now , dear? Must be awful! Hope you're not in pain! Praying sincerely for total healing and a speedy recovery! God answers prayers you know!
ReplyDeleteYours truly
Barbara